Ever thought about cutting your own hair and saving a few bucks? Learning how to blend a drop fade at home might sound intimidating at first, but with the right tools, technique, and patience, you can get a clean, barbershop-quality result without leaving your bathroom.
Introduction
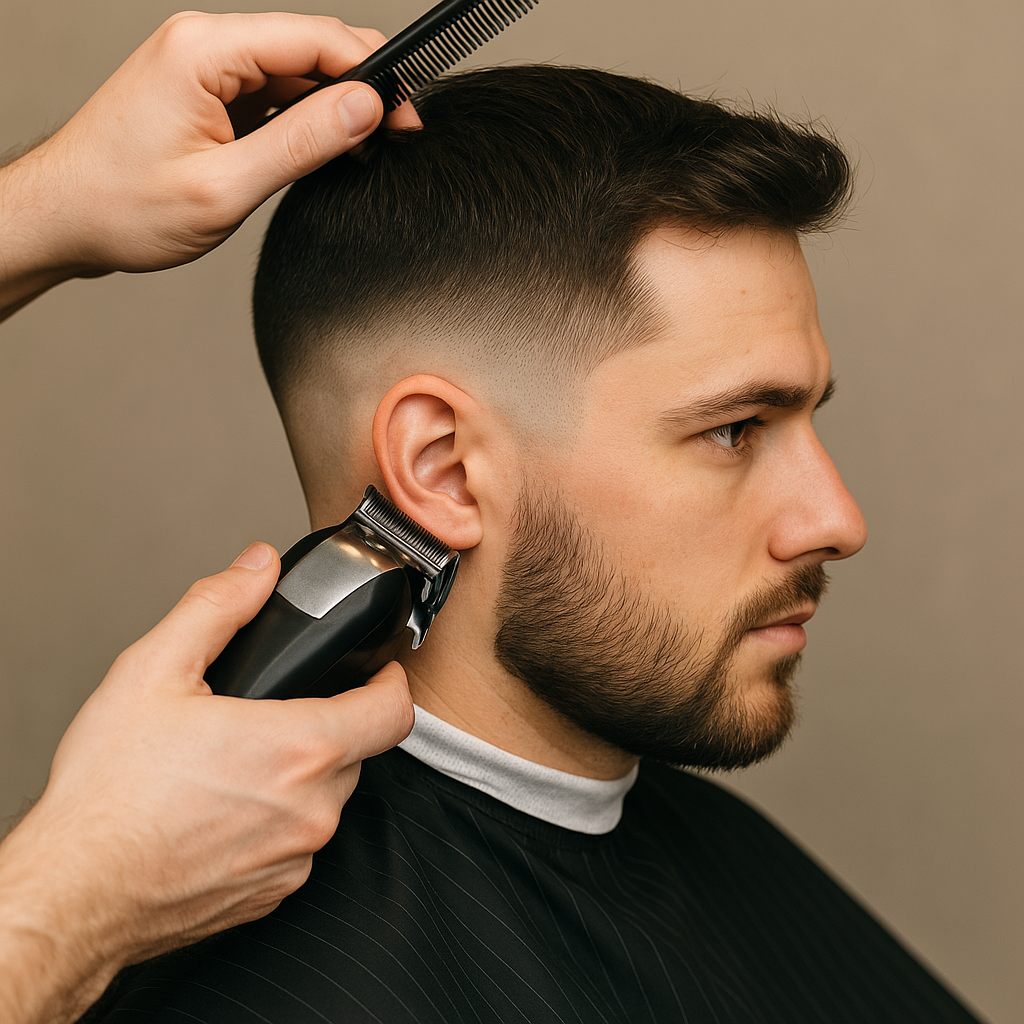
A drop fade is a stylish twist on the classic fade haircut. Instead of following a straight line around your head, it drops down behind the ears and curves along the natural shape of your head. The result? A smooth, modern, and more natural look that flatters almost every face shape.
The best part? You don’t need to be a pro barber to pull it off. With some guidance and the right setup, you can blend your own fade at home.
What You’ll Need Before You Start
Essential Tools
Before you grab your clippers, let’s make sure you’ve got everything ready:
-
Clippers with adjustable guards (0 to 4)
-
Scissors and comb for detailing
-
Hand mirror to see the back and sides
-
Cape or towel to keep hair off your neck
-
Spray bottle to keep hair slightly damp
Optional Extras
-
Trimmer or edger for clean lines
-
Hair clips to separate sections
-
Pomade or gel for styling
Having these ready will make the process smoother and more precise.
Understanding the Drop Fade
What Makes It Different from a Regular Fade?
A regular fade follows a straight horizontal line, while a drop fade “drops” behind the ear, creating a curved gradient. This shape complements your natural head structure and gives the haircut more depth.
Popular Types of Drop Fades
-
Low Drop Fade – Subtle and professional; perfect for beginners.
-
Mid Drop Fade – A balance between clean and bold.
-
High Drop Fade – Dramatic and trendy; great for defining facial structure.
How the “Drop” Works with Head Shape
The curve of the drop fade enhances your head’s natural contour. It’s ideal for round or oval faces because it adds visual definition and dimension.
Prepping Your Hair and Workspace
Clean and Dry Hair
Always start with clean, dry hair. Oily or wet hair can mess with how evenly your clippers cut.
Set Up Your Mirrors
Use a three-way mirror setup or hold a hand mirror behind you. Good visibility is key when blending fades.
Choose Your Fade Level
Decide if you want a low, mid, or high fade. This determines where your shortest point starts.
Step-by-Step Guide to Blending a Drop Fade
Step 1 – Section the Hair
Use clips or your comb to section off the top hair you won’t be cutting. This keeps it neat.
Step 2 – Create the Guideline
Start with your clippers on the lowest guard (usually #0 or #1). Create a guideline by tracing the drop shape around your head, dipping slightly behind the ears.
Step 3 – Start Fading from the Bottom
Work from the bottom up. Use your #0 or lever closed setting at the very base, then move to #1 slightly above it. Use small flicking motions to avoid harsh lines.
Step 4 – Blend the Middle Section
Switch to a #2 guard and work upwards again. This section is where blending matters most — move the clippers in a smooth upward motion, slightly away from your head.
Step 5 – Fade into the Top
Use a #3 or #4 guard to blend into the longer top hair. Comb the hair down occasionally to check your work.
Step 6 – Detail and Refine the Blend
If you see harsh lines, go over them again with the next shorter guard or with your lever halfway open. Take your time here — detailing makes a big difference.
Step 7 – Line Up and Finish
Use your trimmer or edger to clean the neckline, sideburns, and temple area. This sharpens the look and gives that professional finish.
Pro Tips for a Perfect Blend
Work with the Shape of Your Head
No two heads are the same. Follow your natural curve when creating the fade line — don’t force symmetry if your head shape doesn’t match it.
Use Proper Lighting
Good lighting helps you catch uneven fades. Natural light or a bright bathroom light works best.
Check for Uneven Spots
Use your hand mirror to check all angles. Tilt your head slightly — you’ll spot any lines that need blending.
Always Move the Clippers Upwards Smoothly
Quick, upward flicks help blend seamlessly. Don’t press too hard — it’s about control, not force.
Common Mistakes to Avoid
Rushing Through the Process
A good fade takes time. If you rush, you’ll likely end up with patches or harsh lines.
Using the Wrong Guard Size
Start long and go shorter gradually. You can always cut more — but you can’t add hair back!
Forgetting the “Drop” Curve
A flat fade looks unnatural. Follow the drop behind your ear to keep it stylish and proportional.
Over-Blending
Blending too high can erase the fade effect. Keep the contrast visible between the sides and top.
Styling and Maintaining Your Drop Fade
Use Lightweight Products
A small dab of pomade or matte clay helps define texture without making your hair greasy.
Refresh Every 1–2 Weeks
Fades grow out quickly. Trim the edges or touch up with a #1 or #2 guard every week or two.
Hydrate Your Scalp and Hair
Use a leave-in conditioner or light oil to keep your scalp healthy — especially if you fade regularly.
When to See a Barber
Fixing a Bad Fade
If you mess up, don’t panic. A professional barber can easily re-blend and reshape your fade.
Maintaining Shape Over Time
Even if you DIY, it’s smart to visit a barber every few months to maintain the structure and line precision.
Conclusion
Blending a drop fade at home is totally doable — it just takes patience, a steady hand, and the right tools. Once you master the technique, you’ll have a clean, stylish look anytime you want, without the barbershop wait or price tag. Start slow, take your time, and remember: confidence grows with every cut.
FAQs
How long does a drop fade take to do at home?
Around 30–45 minutes for beginners. With practice, you’ll get faster.
What’s the easiest type of drop fade for beginners?
A low drop fade — it’s subtle and easier to blend evenly.
Can I blend a drop fade without a trimmer?
Yes, but a trimmer helps clean up edges and makes the finish sharper.
How often should I redo my fade?
Every 1–2 weeks, depending on how fast your hair grows.
What’s the best clipper brand for beginners?
Popular and reliable choices include Wahl, Andis, and Oster — all beginner-friendly and affordable.