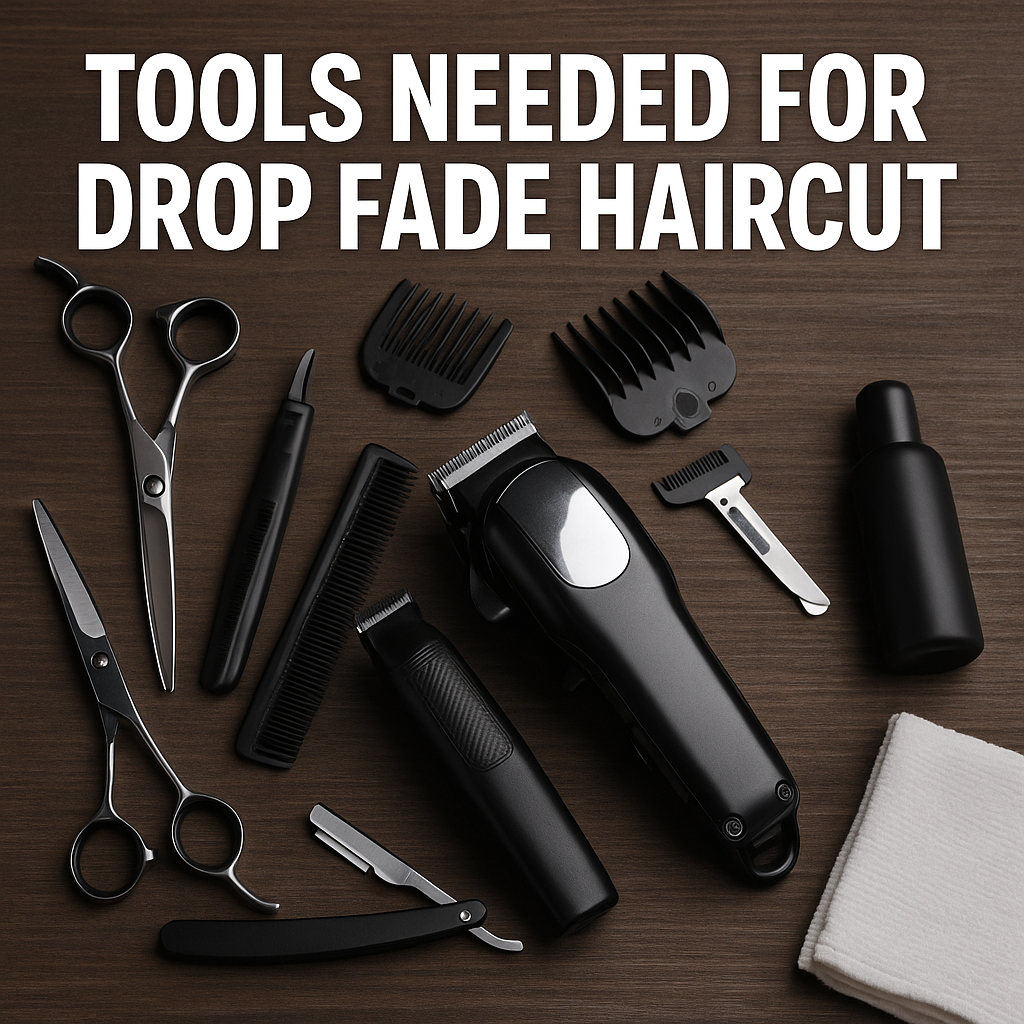
A drop fade haircut is one of the freshest, most stylish haircuts out there—but nailing it requires more than just skill. You need the right tools. Whether you’re a professional barber or just starting to cut hair at home, having the right equipment can make or break your fade. Let’s break down everything you need to get that smooth, seamless drop fade.
Introduction
What Is a Drop Fade Haircut?
A drop fade is a stylish twist on the classic fade. Instead of fading evenly around the head, it “drops” behind the ears, following the natural curve of your head. This creates a sharp, dimensional look that complements most hairstyles.
Why You Need the Right Tools for a Perfect Fade
Even the best barber can struggle with poor tools. The key to a flawless fade lies in precision, control, and cleanliness. With the right tools, you’ll achieve cleaner lines, smoother transitions, and professional-level results.
Essential Clipping Tools
Professional Hair Clippers
The backbone of any fade is the clipper. You’ll need a professional-grade clipper with a powerful motor and adjustable blades.
Features to Look for in a Good Clipper
-
Adjustable taper lever for smooth blending
-
Sharp, durable blades
-
Corded or cordless option (depending on your comfort)
-
Long battery life for cordless clippers
Some great examples are the Wahl Magic Clip, Andis Master, and BaBylissPRO Clippers.
Trimmers for Detailing and Clean Edges
Once the main fade is done, trimmers step in to handle the detailing.
Why Precision Trimmers Matter
Trimmers help define edges, clean necklines, and detail around ears. A good trimmer ensures crisp lines that make the fade pop.
Blending and Fading Essentials
Clipper Guards and Attachments
Guards help you control the length of the fade. Each guard represents a specific length, from 0.5 to 8, and choosing the right one ensures a smooth transition.
How to Choose the Right Guard Size
Start with longer guards at the top and gradually move to shorter ones. For a drop fade, typically #3 to #0 guards are used to create that gradient look.
Taper Lever Function
This small lever on your clipper allows you to fine-tune the fade.
The Secret to Smooth Blending
By adjusting the lever, you can gradually blend between guard lengths. This is what separates a patchy fade from a smooth, professional one.
Cutting and Shaping Tools
Barber Shears and Scissors
When it comes to shaping and trimming the top, high-quality shears are a must.
Difference Between Shears and Regular Scissors
Barber shears are sharper, balanced, and designed for precision. Regular scissors can tug or unevenly cut hair, leading to rough results.
Thinning Shears
These shears help remove bulk and blend layers.
How They Help in Softening the Fade
They make transitions smoother and prevent harsh lines, especially when blending thick hair.
Precision and Detailing Tools
Straight Razor or Shavette
For that final touch, nothing beats a razor’s precision.
Achieving Sharp, Clean Lines
A straight razor gives that smooth, skin-close finish. It’s ideal for cleaning up necklines, around the ears, and defining the fade’s edges.
Edge-Up or Line-Up Tools
These tools help define sharp, symmetrical lines on the hairline and beard.
Perfecting the Hairline and Beard Lines
They make your fade look sharper and more polished—just like a professional barbershop cut.
Maintenance and Preparation Tools
Clipper Oil and Blade Cleaner
To keep your tools performing well, regular maintenance is key. A few drops of oil before and after each use keep blades sharp and running smoothly.
Barber Cape and Neck Strips
A cape keeps the client (or you) clean during the cut, while neck strips prevent irritation and maintain hygiene.
Disinfectant Spray
Always disinfect clippers, combs, and shears after each use. Clean tools not only last longer but also prevent skin irritation and infection.
Styling and Finishing Tools
Blow Dryer and Diffuser
A good blow dryer helps set the style post-cut. A diffuser can add volume and texture, making the fade stand out.
Hair Combs and Brushes
Different Types for Different Hair Textures
Use wide-tooth combs for curly or thick hair, and fine-tooth combs for straight hair. A good brush helps in even styling and blending.
Styling Products (Pomade, Gel, or Matte Clay)
Once your fade is perfect, lock it in with styling products. Matte clay gives a natural look, pomade adds shine, and gel provides firm hold.
Optional but Useful Tools
Hair Grips or Sectioning Clips
Keep hair organized and out of the way, especially during precision fading.
Mirror Setup for Self-Fades
If you’re cutting your own hair, a 3-way mirror setup lets you see all angles clearly.
Lighting for Precision Work
Good lighting is often overlooked, but it’s essential for spotting uneven fades and perfecting the look.
Pro Tips for Perfect Drop Fade
Maintain Sharp Blades
Always oil and clean blades after use—dull blades pull hair and ruin fades.
Practice Blending Techniques
Blending is an art. Practice using your taper lever and guards to achieve smooth gradients.
Use the Right Lighting and Angles
Good lighting and steady angles can help you notice small imperfections that others might miss.
Conclusion
A perfect drop fade isn’t just about skill—it’s about having the right tools. From clippers and trimmers to razors and styling products, every tool plays its role in achieving that sharp, modern look. Whether you’re cutting your own hair or working on clients, investing in quality tools pays off in every fade you create.
FAQs
What is the difference between a drop fade and a low fade?
A drop fade curves around the head and drops behind the ears, while a low fade stays straight and close to the hairline.
How often should I oil my clippers?
You should oil your clipper blades before and after each use for optimal performance.
Can I do a drop fade at home?
Yes, but it requires patience, mirrors, and practice. Start slow and use quality tools.
What clipper guard sizes are best for a drop fade?
Typically, #3 to #0 guards are used, but it depends on how high or low you want your fade.
How do I maintain my tools for long-term use?
Clean after every use, oil blades regularly, and store them in a dry, safe place.